Create Stunning Outdoor Spaces with Sand Wash Finish
Hey there, Portland DIY enthusiasts! If you’re looking to enhance your outdoor spaces with durable and beautiful pavers, we’ve got the perfect project for you. In this guide, we’ll walk you through creating 2×2 foot concrete pavers with an exposed aggregate sand wash finish. Whether you’re planning a new patio, walkway, or driveway, these pavers are versatile and easy to make. Let’s dive in!
Materials and Tools Needed
Before we get started, gather all the materials and tools you’ll need for this project:
Materials
- 2×4 lumber (cut to 2 feet 1.5 inches)
- Plastic sheeting
- Sand
- Vegetable oil or used motor oil
- Commercial grade Quikrete 5000 PSI concrete mix
- Silica (optional)
Tools
- Wood hand float
- Screed board
- Edger
- Trowel
- Water hose
- Nylon broom
- Concrete sealer (glaze and seal lacquer)
- Paint roller
Step-by-Step Instructions
1. Building the Forms
Start by cutting your 2×4 lumber into pieces that are 2 feet 1.5 inches long. This will allow you to create 2×2 foot square forms. Assemble the forms by overlapping the ends in a log cabin style and secure them on a flat surface covered with plastic sheeting and a layer of sand.
Pro Tip:
Spray the inside of the forms with vegetable oil or used motor oil. This will make it easier to remove the forms once the concrete sets.
2. Mixing and Pouring the Concrete
Mix the Quikrete 5000 PSI concrete according to the package instructions. Pour the concrete into the forms, filling them to the top. Use a screed board to level the surface, then smooth it out with a wood hand float.
Concrete Mix:
- Quikrete 5000 PSI
- High early strength for faster curing
3. Edging and Troweling
Allow the concrete to set for about 50 minutes, then use an edger to create clean edges with a half-inch radius. Trowel the surface to smooth it out. Let the concrete set for another hour before performing a final trowel pass.
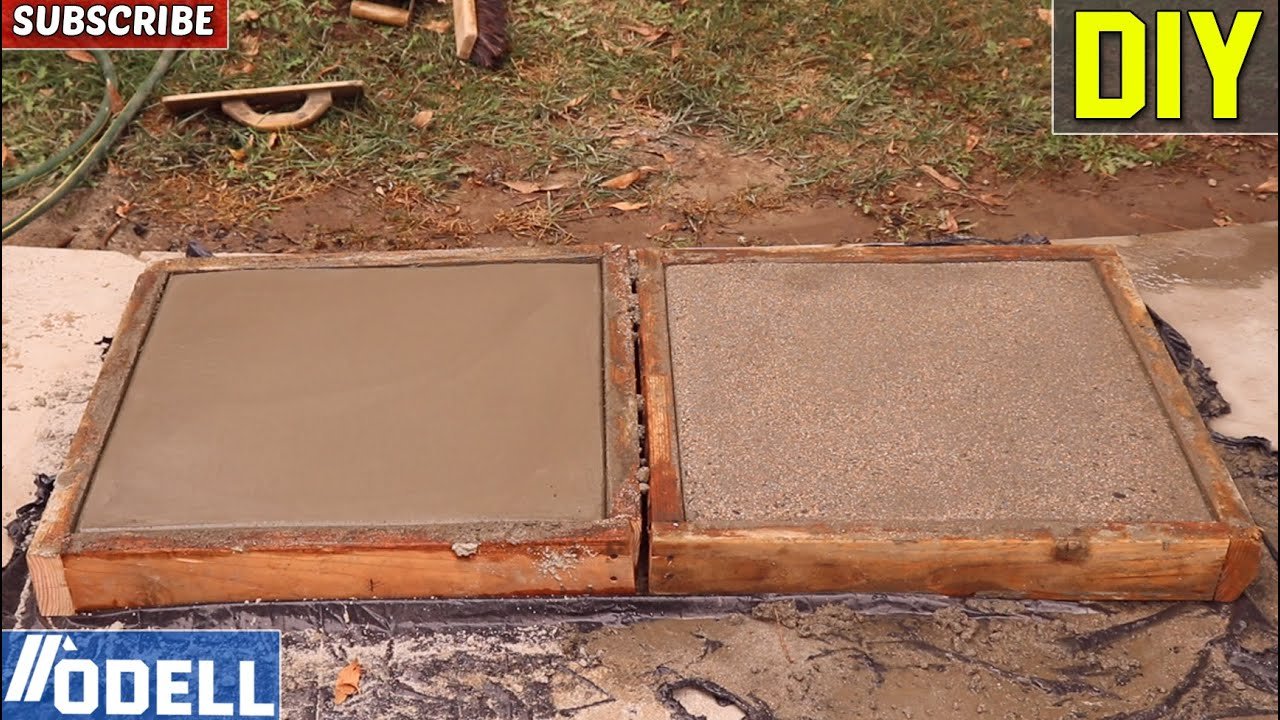
4. Creating the Sand Wash Finish
After the concrete has set for about three and a half hours, it’s time to expose the aggregate. Use a water hose without a nozzle to gently wash away the top layer of cement, revealing the sand and small stones beneath. This will give your pavers a beautiful, textured finish.
Timing:
- Initial set time: 50 minutes
- Final trowel pass: 1 hour
- Exposing aggregate: 3.5 hours
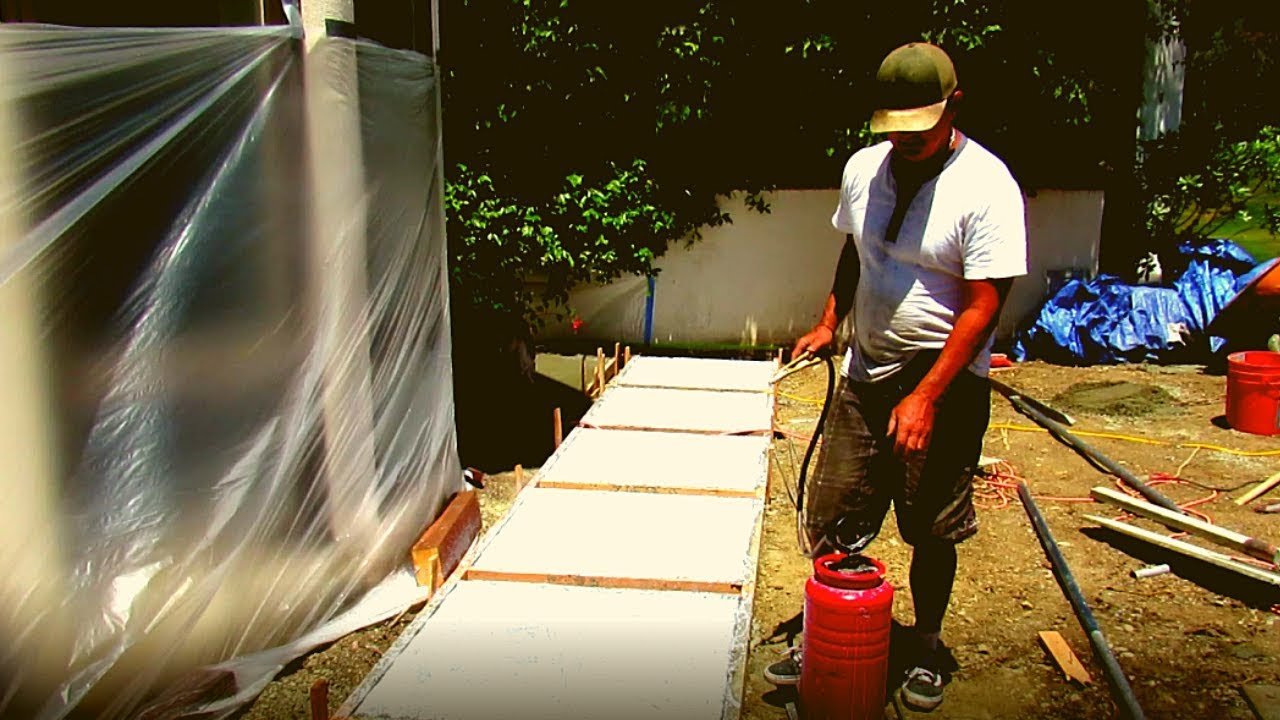
5. Sealing the Pavers
Once the pavers have cured for a few days, apply a concrete sealer to protect them from stains and weathering. We recommend using a glaze and seal lacquer for a wet look. Apply the sealer with a paint roller for even coverage.
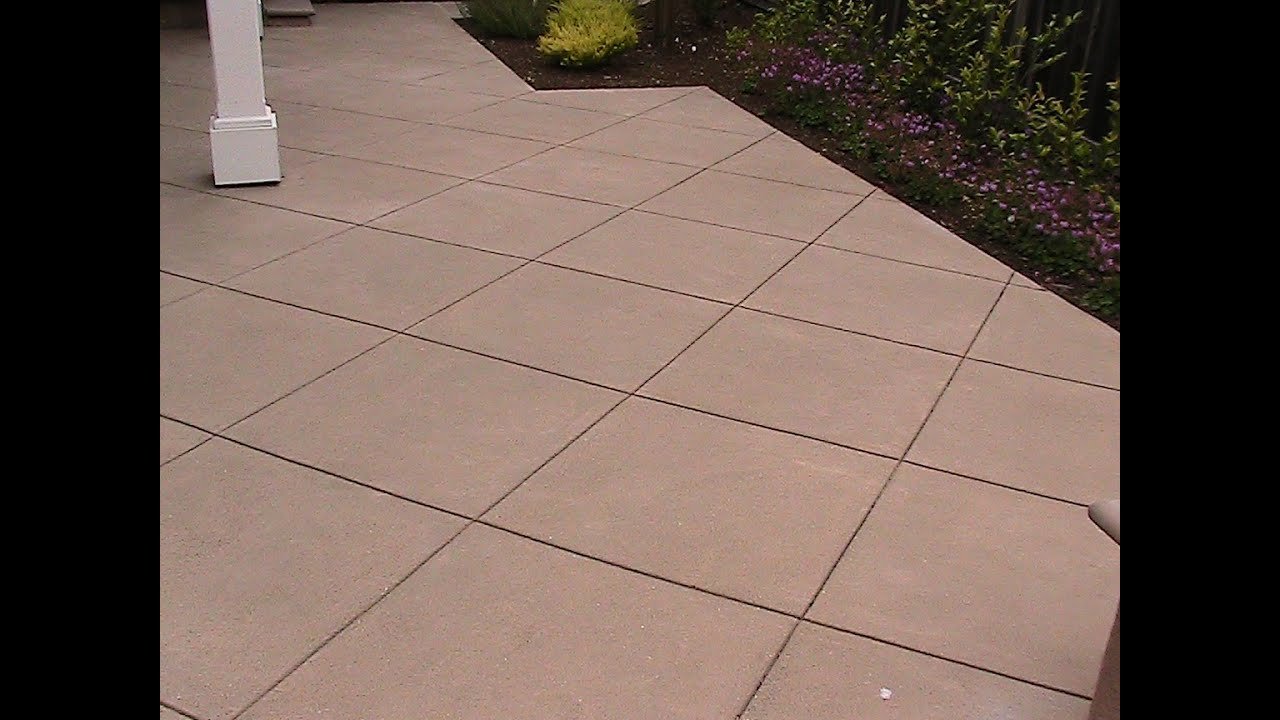
Placing Your Pavers
After sealing, you can move your pavers to their final location. Use a hand cart to slide them into place on a sand base. You can arrange them with spaces in between for gravel or butt them up against each other for a solid surface.
Conclusion
Congratulations! You’ve successfully created your own DIY concrete pavers with an exposed aggregate sand wash finish. These versatile pavers can be used for patios, walkways, driveways, and more. Enjoy your new outdoor space and the satisfaction of a job well done.
FAQs
What is exposed aggregate concrete?
Exposed aggregate concrete is a decorative finish achieved by removing the top layer of cement paste to reveal the underlying aggregate, such as sand and small stones.
How do I maintain my concrete pavers?
To maintain your pavers, periodically clean them with water and a mild detergent. Reapply sealer as needed to protect the surface and enhance the color.
Can I use different shapes and sizes for the pavers?
Yes, you can create pavers in various shapes and sizes to suit your design preferences. Just adjust the size of your forms accordingly.
Call to Action
Ready to start your own DIY concrete paver project? Gather your materials and tools, follow our step-by-step guide, and create beautiful, durable outdoor spaces. Share your finished projects with us and inspire others in the Portland community. Happy DIY-ing!