Polished concrete floors are becoming a popular choice for homeowners, designers, and small contractors. They combine durability with a sleek, modern look that can brighten up any space. In this guide, we’ll walk you through the complete process of polishing an interior concrete floor step by step, highlighting tools, safety practices, and maintenance tips.
Understanding Polished Concrete
Polished concrete is achieved by mechanically grinding and honing the surface of an existing concrete slab, then applying chemical hardeners (densifiers) and sealers. The result is a strong, reflective, and low-maintenance surface. Benefits include:
- Long lifespan compared to tile or vinyl
- Resistance to stains, dust, and moisture
- Easy cleaning and low maintenance
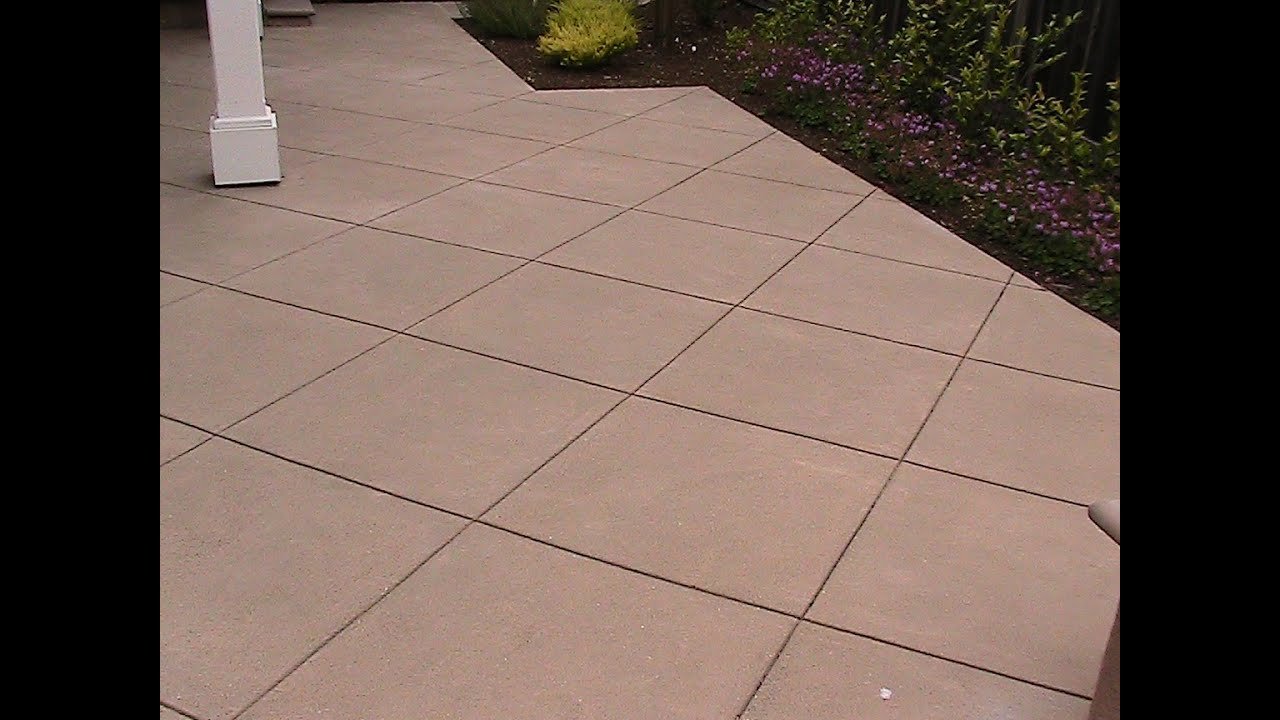
- A wide variety of finishes, from matte to high gloss
Tools and Materials You’ll Need
- Grinders: planetary floor grinder + edge grinder
- Diamond polishing pads: grit progression 30/40 → 60/80 → 120 → 400 → 800 → 1500 → 3000
- Dust extractor with HEPA filter
- Concrete densifier (lithium silicate recommended)
- Grout or slurry for pinholes
- Concrete guard or sealer (penetrating or topical)
- Personal protective equipment (PPE): respirator, goggles, ear protection, gloves
Step-by-Step Process
1. Preparation
- Clean the surface thoroughly, removing dust, adhesives, and coatings.
- Mask walls and protect adjacent areas.
- Perform a moisture test and inspect for cracks.
2. Initial Grinding
- Use coarse metal-bond diamond pads (30/40 grit).
- Make multiple passes until the floor is even and free of surface imperfections.
- Grind edges with a handheld edge grinder for uniformity.
3. Honing
- Progress through medium grits (60/80 → 120) to refine the surface.
- Apply grout or slurry to fill pinholes and minor cracks.
4. Densification
- Apply a lithium silicate densifier after the 120-grit pass.
- Allow proper curing time to harden the surface.
5. Polishing
- Continue with resin-bond pads (400 → 800 → 1500 → 3000).
- Each step increases gloss and smoothness.
- Check gloss levels with a gloss meter if available.
6. Sealing/Guarding
- Apply a protective sealer or guard suited for interior floors.
- This enhances stain resistance and color depth.
Common Mistakes to Avoid
- Skipping grit levels, which leaves scratches.
- Over-wetting densifier, leading to streaks.
- Inadequate dust extraction, risking silica exposure.
- Ignoring edge polishing, causing inconsistent finishes.
Safety Tips
- Always use PPE: respirator, goggles, and hearing protection.
- Ensure proper ventilation to control dust.
- Follow OSHA guidelines for silica dust exposure.
Costs and Timelines
- DIY costs: ~$3–$6 per square foot (equipment rental + materials).
- Professional service: ~$8–$15 per square foot depending on condition and gloss level.
- Average 2–4 days for a residential interior floor.
Maintenance and Aftercare
- Clean regularly with a microfiber mop and neutral-pH cleaner.
- Avoid harsh chemicals like vinegar or bleach.
- Re-burnish or re-apply guard every 2–3 years for optimal shine.
FAQs
Is polished concrete slippery?
Not when properly finished and sealed; it often has better slip resistance than tile.
Can I polish an old slab?
Yes, as long as it’s structurally sound and not too soft or damaged.
How long does polished concrete last?
With proper care, it can last decades.
Do I need to reseal polished concrete?
Yes, reapplication of a guard or sealer is recommended every few years.
What gloss levels are available?
Options range from matte to satin to high-gloss reflective finishes.
Call to Action
Ready to transform your home with stunning polished concrete floors?
👉 Contact Sand Finish Concrete today for a free consultation and professional estimate.